Kitchen · 9 min read
Kitchen Lighting in Three Layers: Bright to Cook, Soft to Linger
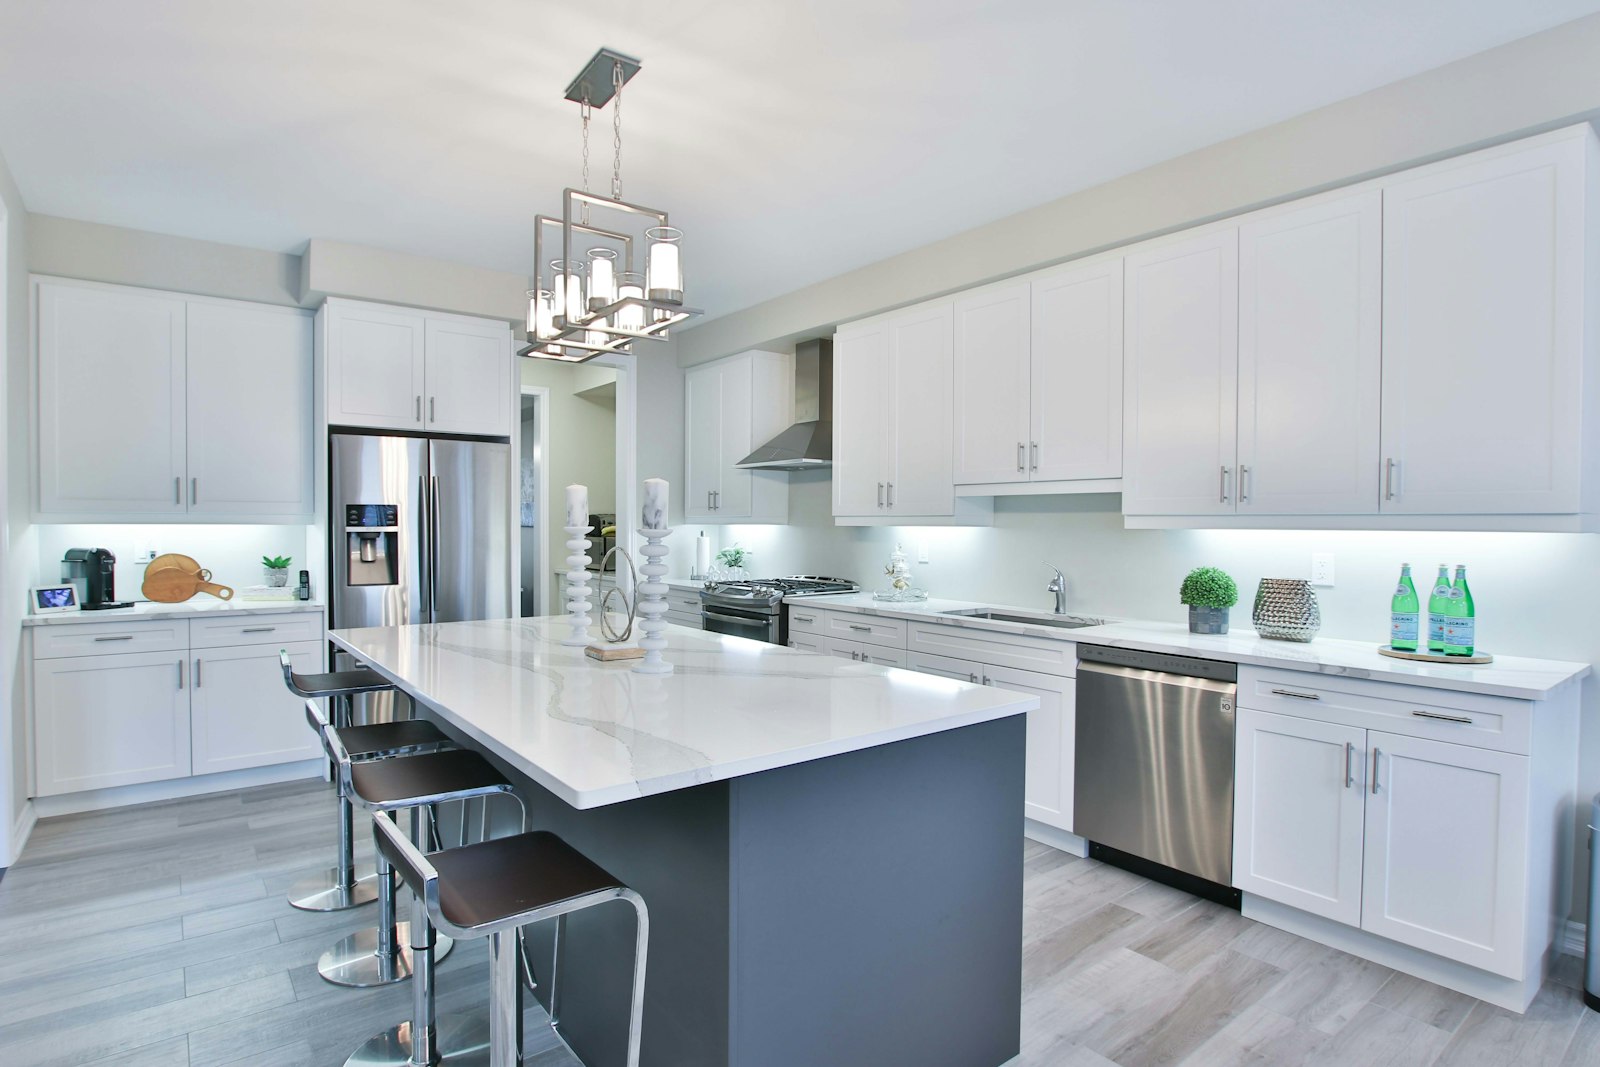
You are slicing an onion, and the knife sits in your own shadow. Two hours later you are at the same counter with a glass of wine, and the glare from the ceiling makes the room feel like an office. Picture a kitchen-living room in Döbling on a Thursday in November. At 6.30 pm someone is chopping onions while the children do homework at the table; at 8.30 pm two people sit at the island, and the kitchen is meant to feel like a living room. Same space, two completely different lighting situations. One ceiling light cannot manage both, which is why we plan kitchen lighting in layers.
Contents
- Why one ceiling light is not enough in the kitchen
- Layer one: task light without shadows
- Layer two: light over kitchen island and dining table
- Layer three: atmosphere for the evening
- Switching, dimming and scenes
- Thinking daylight and artificial light together
- The most common mistakes in kitchen lighting
- Frequently asked questions
- What happens next
Why one ceiling light is not enough in the kitchen
The classic kitchen light in the middle of the ceiling has a simple flaw: it stands behind you. Whoever works at the wall run casts their own shadow exactly where the knife cuts. It is also too bright and flat for the evening, and the room feels like an office.
Good lighting design therefore separates by task. The question is not "Which light do I like?" but "What happens where, and what light does it need?" It is the attitude behind every project we do: life situations rather than room functions. The general fundamentals are in the article on lighting design for the home.
Light in the kitchen is not a fitting-out detail. It decides whether one likes to stand there.
The three layers at a glance:
| Layer | Purpose | Typical solution | Guide values |
|---|---|---|---|
| Task light | Chopping, cooking, reading recipes | Under-cabinet lights, light lines, spots over the island | about 300 to 500 lux on the surface, Ra 90 or higher |
| Zone light | Emphasising island, counter, dining table | Pendant lights, directed spots | dimmable, glare-free |
| Mood light | Evening, guests, calm | Indirect light, niches, plinth, floor lamp | strongly dimmed, warm white |
The values are guidelines, not standards for private kitchens, and help you hit the right order of magnitude. For colour temperature we usually recommend 2700 to 3000 kelvin in living areas, so that the kitchen light matches the living room.
Start with the layer you use most: the one on the worktop.
Layer one: task light without shadows
Task light must be bright, even and true to colour. Colour fidelity is described by the colour rendering index, Ra or CRI for short. From 90 upwards, tomatoes look like tomatoes and meat like meat. Inexpensive LED strips often score lower, and you notice it when cooking.
Along the wall run, task light ideally sits beneath the wall units or in a shelf, as far forward as possible. If the light line sits too far back against the wall, you get a pleasant strip on the splashback while the front of the worktop stays darker. We therefore set the light forward and shield it, so you do not look into the LED from the side.
Without wall units it gets more demanding. We then use precisely aimed ceiling spots that shine onto the worktop from diagonally in front, or a continuous wall shelf that holds a light line. How to plan kitchens without wall units and solve storage differently is described in the article on the inner workings of the kitchen.
One detail is often overlooked: reflections. A high-gloss worktop reflects every light source as a bright point. Matt surfaces, such as Dekton or honed natural stone, are less troublesome. Which surface suits your kitchen is compared in the article Worktops: Dekton, natural stone or quartz composite.
Now lift your eyes from the worktop to the island.
Layer two: light over kitchen island and dining table
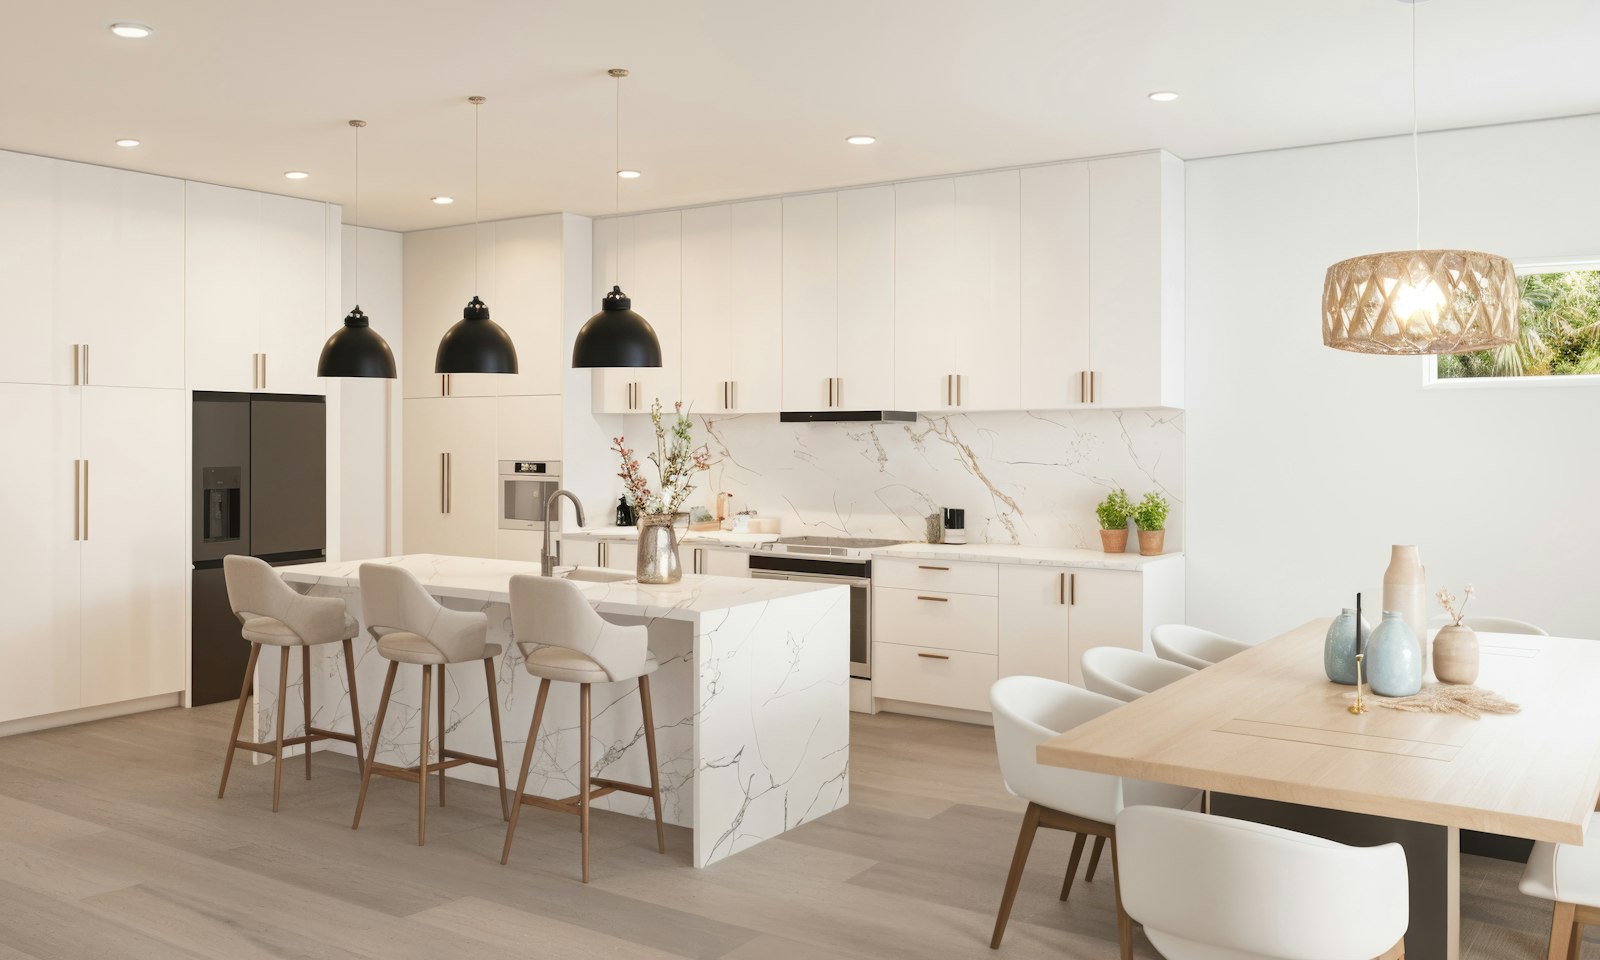
Over the island and table, light has two jobs: to light the surface well and to mark the place in the room. Pendant lights are the obvious choice, because they bring light close to the surface and give the open space a centre.
We plan pendants in steps:
- Clarify the position of the island and hob: Over a hob with a hood there is no room for pendants. With a hob with an integrated extractor the airspace is free. The article Hob with integrated extractor explains what this means for planning.
- Fix the height: As a guide, the lower edge of pendants over an island hangs about 65 to 75 centimetres above the worktop, and over a dining table about 60 to 70 centimetres above the tabletop. Someone working standing up must not look into the light source, and someone seated should still see the person opposite.
- Determine number and spacing: For an island 2.4 metres long, two or three lights are usual, spread evenly along the length and set back from the ends.
- Check the light distribution: Lights that shine only downwards create a concentrated pool of light. Lights that also radiate sideways or upwards brighten the room as well. Both have their place.
- Fix the ceiling outlets: In an Altbau with stucco, or with concrete ceilings, the outlets must be in place before painting or plastering. A moved outlet is always visible afterwards.
Well-made pendants are a lighting tool and a design element at once. We choose a light first for its illumination and only then for its form. Why we treat lights as part of the lighting design and not as decoration is explained in the article on lights as part of lighting design.
Imagine the island at seven: two pendants throwing warm circles on the oak, a pot simmering, a friend's face lit from the side rather than from above. That is the layer that makes people want to stay. But the real transformation comes later in the evening.
Layer three: atmosphere for the evening
The third layer turns a kitchen into a living space. It is not about brightness but about depth. A room feels homely when not everything is equally bright, when some surfaces glow while others lie in half-shadow.
Tried and tested means for mood lighting:
- Indirect light in shelf niches or behind an open back panel, setting ceramics and books in scene.
- Light lines in the plinth, which visually lift the kitchen off the floor and serve as orientation light at night.
- Illuminated glass display cabinets with very subdued, warm light.
- A floor lamp or table lamp in the adjoining living area, softening the transition between kitchen and living room.
- The strongly dimmed island: the same pendants at ten or twenty per cent become a calm focal point.
In open floor plans especially, this layer is the bridge between the zones. How light connects or separates rooms is described in the article Light as transition.
In the evening the kitchen should not disappear. It should step back, like a stage on which nobody is currently performing.
What doing nothing costs. Without layers, you cook in your own shadow, squint at a recipe, and at night sit in a light that was meant for work. You get used to it, which is the problem. The kitchen is where you spend the most hours of the day, and a fix after the ceiling has been closed is a job for the plasterer, not a screwdriver.
Three layers only help if you can operate them without thinking.
Switching, dimming and scenes
A kitchen with seven switches next to the door ends up being used with all lights on or all off. So we plan the controls as carefully as the lights.
A few clearly named buttons or scenes have proved their worth: "Cooking" switches task light and island to bright, "Dining" dims the task light away and the pendants to medium, "Evening" leaves only niches and plinth on. Whether a simple dimmer solution or a bus system does this depends on the project. What makes sense and what merely blinks is in the article Smart home you do not see.
Important with LEDs: not every light is compatible with every dimmer. Flickering or humming at low brightness are typical results of wrong combinations. We therefore coordinate lights, drivers and controls with the electrician before ordering. With our own joinery, Tischlerkultur, a Viennese carpentry tradition since 1935, the channels and recesses for the light are built into the furniture from the first drawing, and one contact at Richard Atelier looks after the whole.
And daylight? It deserves its own thought.
Thinking daylight and artificial light together
Many Viennese Altbau kitchens face the courtyard, and some have lost their own window since being opened up into the living space. Here the artificial light has to do part of the work in the daytime too. Pale, matt surfaces and a light line on the back wall make a dark kitchen feel more generous.
Conversely, kitchens with large south- or west-facing windows suffer glare in the afternoon. A textile sun shade helps, and the worktop should not be placed so that you work facing the light. Ideas for using daylight are collected in the article Making use of daylight.
In a small kitchen this applies all the more: light replaces floor area. A well-lit back wall and a pale floor make the room appear larger than it is.
The most common mistakes in kitchen lighting
From the many kitchens we have improved afterwards, we know a short list of recurring mistakes:
- Only one central ceiling light, which casts shadows on the worktop.
- LED strips with poor colour rendering, which make food look pallid.
- Pendants hung too high or too low, so that you are dazzled or bump your head.
- No dimming, so the kitchen is too bright and unwelcoming in the evening.
- Too many switches without clear logic.
- Ceiling outlets that do not match the final position of the island.
All of these are avoidable if the lighting is planned at the same time as the floor plan. Further pitfalls that appear only after moving in are described in the article Twelve mistakes in kitchen planning. How we bring light, furniture and material together in a kitchen is shown on the page about our fitted kitchens.
Frequently asked questions
How brightly should the kitchen worktop be lit?
As a guide, we recommend about 300 to 500 lux directly on the worktop. More important than an exact value is that the light falls evenly and without shadows. The colour rendering of the lights should also be Ra 90 or higher.
Which colour temperature is right for the kitchen?
In open-plan kitchens we usually recommend warm white light of 2700 to 3000 kelvin, so that kitchen and living area belong together. Neutral white light around 4000 kelvin feels fresher when working but cool in the evening. Some lights have adjustable colour temperature, which is one compromise, and we will help you weigh it.
How high do you hang pendant lights over the kitchen island?
As a guide, the lower edge lies about 65 to 75 centimetres above the worktop. The height of the users and the form of the light are decisive. We check the height on site with a sample or dummy before the outlet is finally positioned, so you see it before it is fixed.
Do I need under-cabinet lights if I have ceiling spots?
Ceiling spots alone often cast your own shadow onto the worktop along the wall. Under-cabinet lights or light lines under shelves light from above and in front and avoid this. Where there are no wall units, precisely aimed spots can be an alternative.
Can I improve my kitchen lighting afterwards?
Yes, often with manageable effort, for example with light lines under existing cabinets or dimmable bulbs. New ceiling outlets or pendants over an island are more involved, because the ceiling and electrical installation are affected. When renewing a kitchen, plan the lighting from scratch; we gladly look at it with you.
How many light switches does a kitchen need?
As few as possible, as many as necessary. Three or four lighting groups, operated by a few buttons or scenes, have proved their worth. What matters is that the controls are understandable without explanation.